Sunflower microgreens are quickly becoming the superstar of home gardening, and for good reason. These nutrient-dense powerhouses pack more vitamins, minerals, and protein than their mature counterparts, all while growing from seed to harvest in just 10-14 days. If you’ve been searching for an easy, rewarding way to boost your family’s nutrition while enjoying the satisfaction of homegrown food, sunflower microgreens are your perfect starting point.
Unlike traditional gardening that requires outdoor space, weather cooperation, and months of patience, growing sunflower microgreens transforms any kitchen counter into a productive growing space. These crunchy, nutty-flavored shoots offer complete protein with all essential amino acids, making them especially valuable for vegetarians and health-conscious families looking to maximize their nutritional intake.
Quick Success Tip: Sunflower microgreens are among the most forgiving varieties for beginners, with a 95% success rate when following proper soaking and growing techniques.
Visual Growing Timeline: Watch Your Sunflower Microgreens Transform
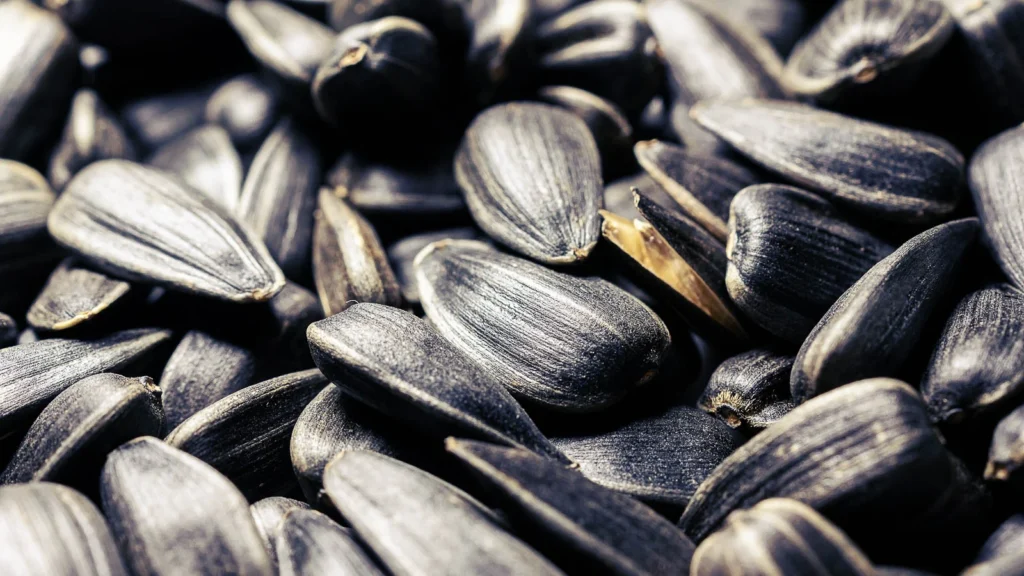
1. Day 0: Seed Soaking Stage
Black oil sunflower seeds begin their 12-24 hour soaking process. The tough outer hulls soften, preparing for rapid germination. You’ll notice the seeds slightly swelling as they absorb water.
Pro Tip: Change the water every 12 hours to prevent fermentation and ensure optimal germination rates.
2. Days 2-4: Germination & Root Development
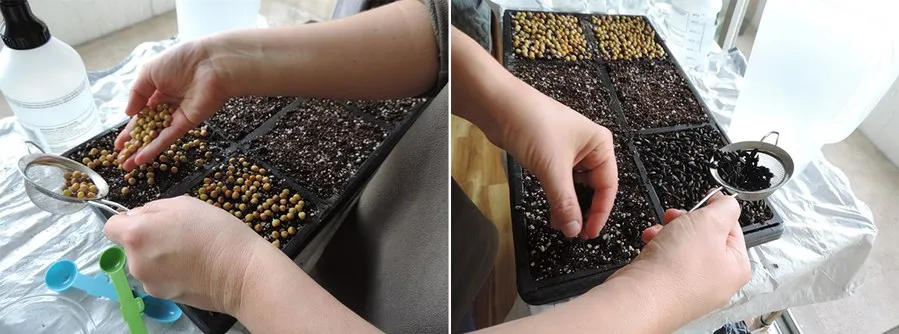
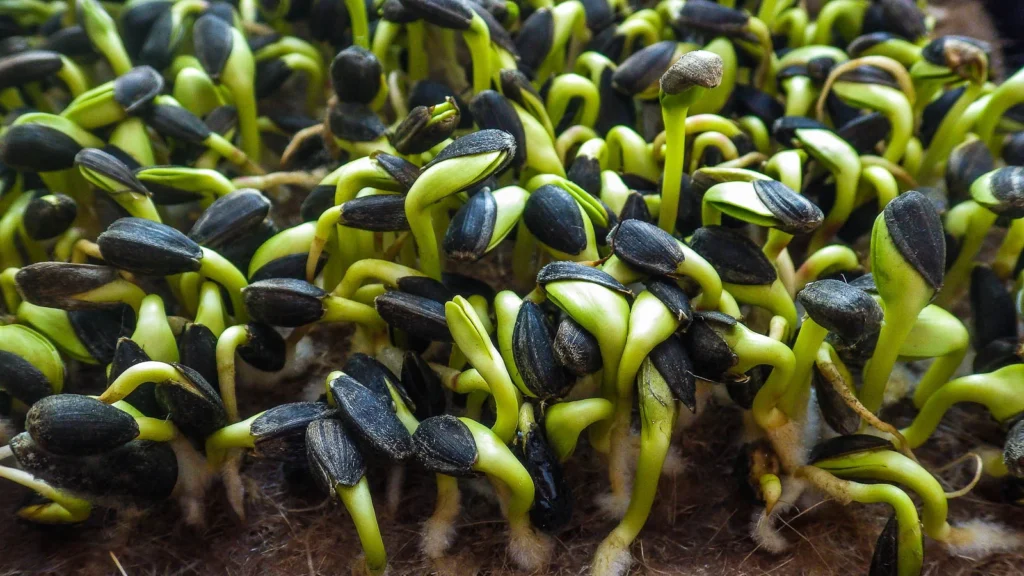
Seeds planted densely on growing medium show first signs of germination. White roots emerge and begin anchoring into the soil or growing mat. Keep covered in darkness to encourage strong root development.
Watch For: Seeds pushing up against the cover tray – this signals they’re ready for light exposure.
3. Days 5-8: Cotyledon Emergence
The first seed leaves (cotyledons) emerge as pale yellow shoots. Once they push against the cover, remove it and place under grow lights. Shoots will quickly turn green and develop their characteristic round, plump leaves.
Light Schedule: Provide 12-16 hours of light daily for optimal growth and chlorophyll development.
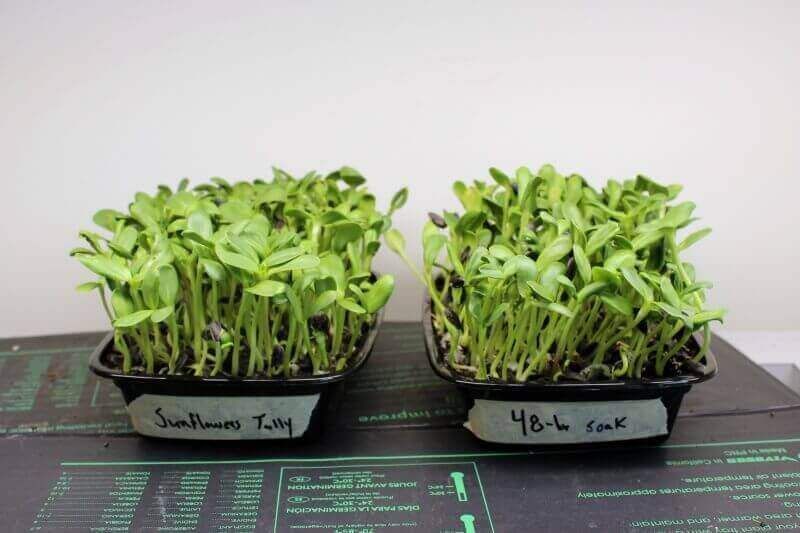
4. Days 10-14: Harvest Ready
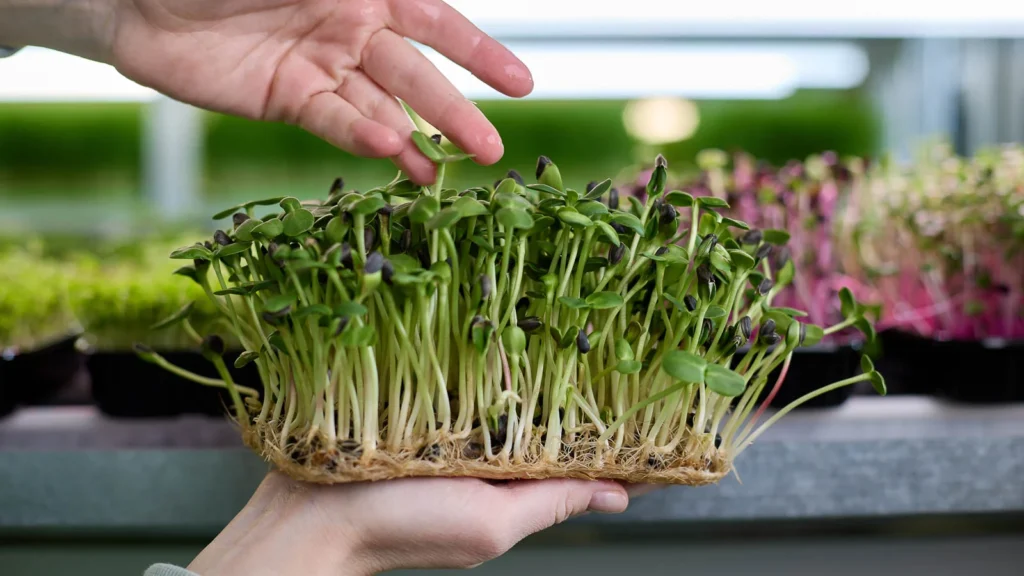
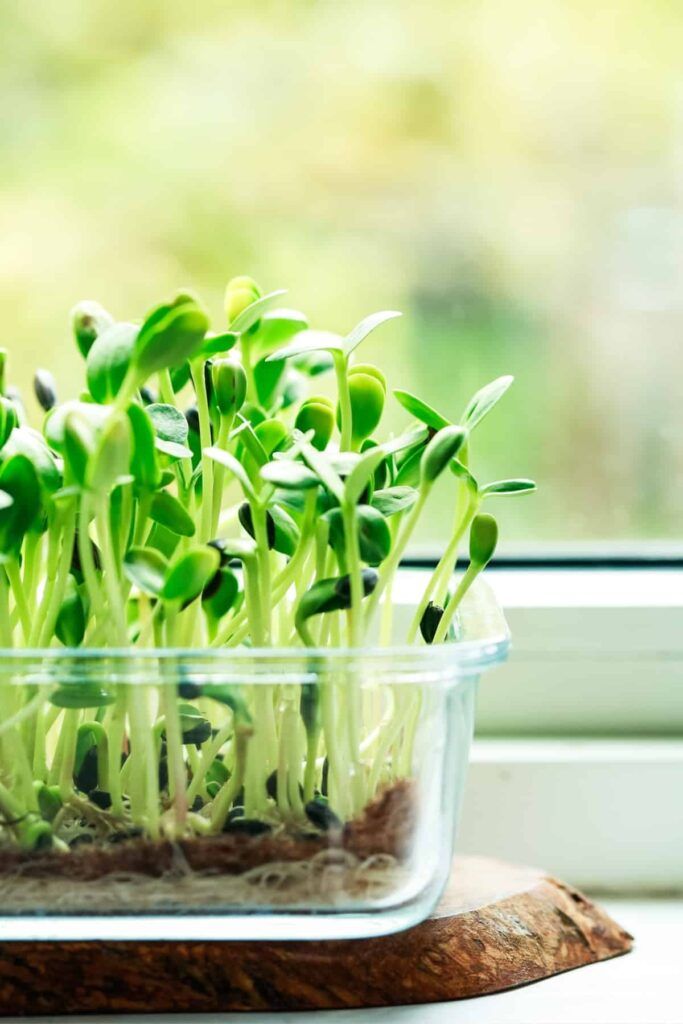
Sunflower microgreens reach 3-4 inches tall with fully developed cotyledons. Seed hulls naturally fall off or can be gently brushed away. This is the optimal harvest window for maximum nutrition and flavor.
Timing Matters: Harvest before true leaves appear to maintain the mild, nutty flavor profile.
Complete Step-by-Step Growing Guide
What You’ll Need
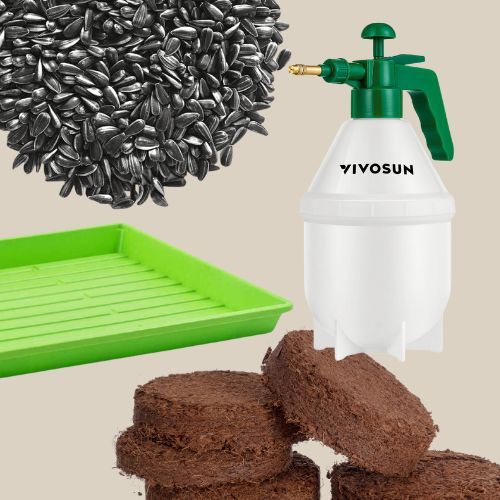
Black oil sunflower seeds (organic, untreated)
Two 10×20 inch growing trays
Growing medium (coconut coir or potting soil)
LED grow light or sunny windowsill
Spray bottle for misting
Sharp scissors for harvesting
Step 1: Seed Preparation & Soaking
Measure out 1-2 cups of black oil sunflower seeds (enough to cover your growing tray). Rinse seeds thoroughly in cool water to remove any dust or debris. Place in a bowl and cover with room temperature water – seeds should be submerged by about 2 inches.
Soaking Schedule:
- Hour 0: Initial soak in fresh water
- Hour 12: Drain, rinse, and refill with fresh water
- Hour 24: Final drain and rinse – seeds ready for planting
Soaked seeds will appear slightly swollen and some may show small white root tips emerging. This 24-hour process ensures 95%+ germination rates.
Step 2: Prepare Growing Medium & Trays
Fill one tray with about 1 inch of moistened growing medium. Coconut coir works excellently and provides good drainage while retaining moisture. Level the surface and gently compress to create an even planting bed.
Growing Medium Options:
| Coconut Coir: | Excellent drainage, sustainable | Recommended |
| Potting Soil: | Nutrient-rich, readily available | Good |
| Hemp Mats: | No soil needed, reusable | Advanced |
Step 3: Planting Your Sunflower Microgreens
Spread soaked sunflower seeds evenly across the growing medium surface. Seeds should nearly touch each other but not overlap – this dense planting maximizes yield while preventing mold issues.
Planting Density Guide:
- 1 cup seeds = covers one 10×20 inch tray perfectly
- Seeds should be touching but not stacked
- No need to cover seeds with soil – they’ll root naturally
- Mist lightly after planting to settle seeds
Step 4: The Blackout Period (Days 1-4)
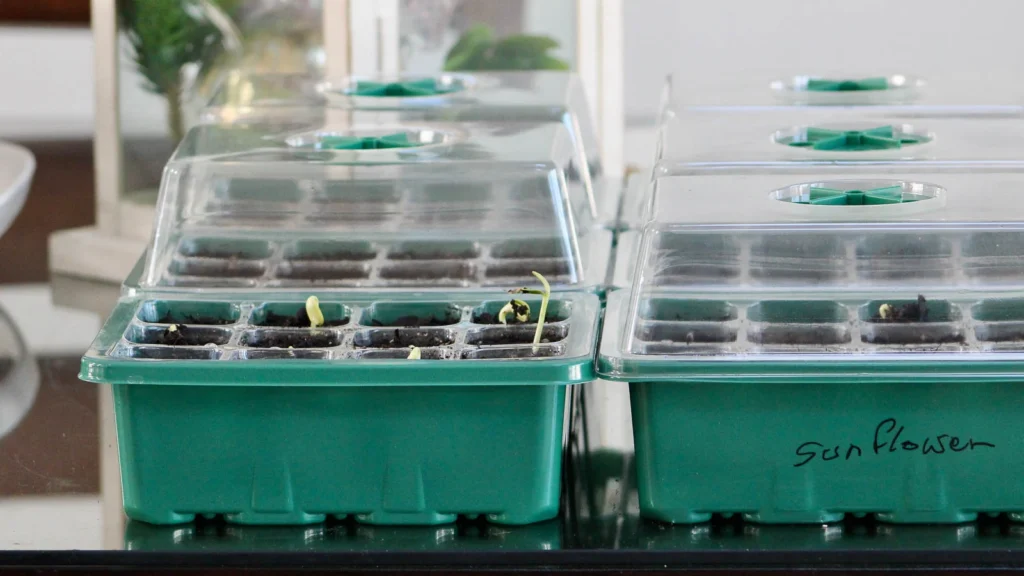
Cover your planted seeds with the second tray (inverted) or a dark cloth. This blackout period encourages strong root development and prevents leggy growth. Seeds will use their stored energy to develop robust root systems.
Daily Care During Blackout:
- Mist twice daily to maintain moisture
- Keep temperature between 65-75°F
- Check daily for mold or unusual odors
Step 5: Light Exposure & Growth Phase
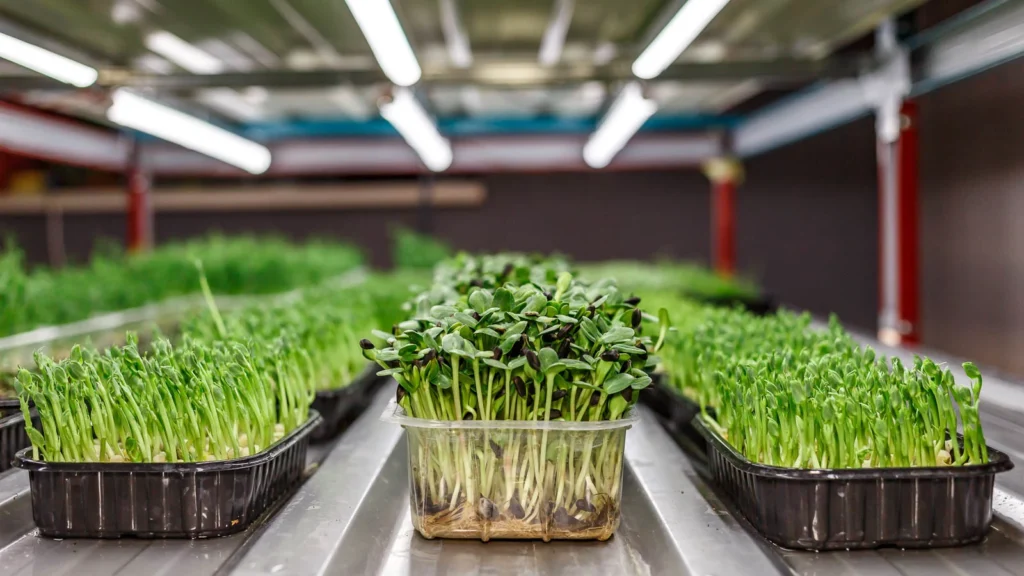
When shoots push against the cover (usually day 3-4), remove the cover and place under grow lights. Shoots will initially be pale yellow but will quickly green up under light exposure.
Lighting Requirements:
- Duration: 12-16 hours daily
- Distance: 6-12 inches from plants
- Type: Full spectrum LED preferred
- Intensity: 20-40 µmol/m²/s PPFD
No Grow Lights? A south-facing window works well – just rotate trays daily for even growth.
Step 6: Harvesting Your Sunflower Microgreens
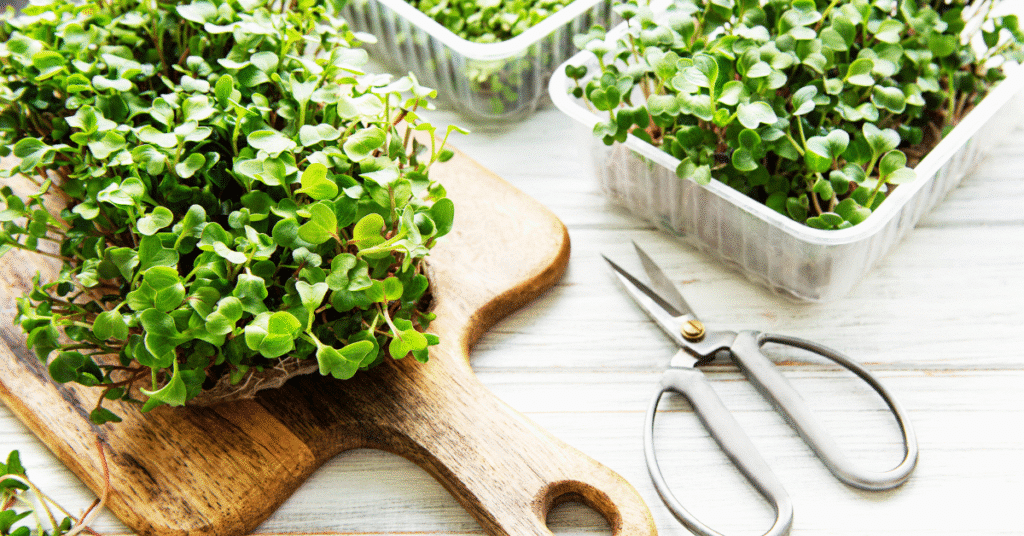
Harvest when microgreens reach 3-4 inches tall with fully opened cotyledons, typically 10-14 days from planting. Cut just above the growing medium with sharp, clean scissors.
Harvesting Checklist:
- Height: 3-4 inches tall
- Cotyledons fully expanded
- Vibrant green color
- Seed hulls fallen off naturally
Adapting to Different Growing Conditions
Hot Climate Challenges
High temperatures can cause rapid moisture loss and increase mold risk in sunflower microgreens.
Move growing trays to coolest area of home (65-75°F ideal)
Increase misting frequency but ensure good air circulation
Use small fan for gentle air movement
Cold Climate Solutions
Lower temperatures slow germination but can be managed effectively.
Use heat mat under trays during germination phase
Place near heat source (but not directly on it)
Extend growing time by 2-3 days for full development
High Humidity Areas
Excess moisture can lead to mold issues with sunflower microgreens.
Ensure excellent ventilation around growing area
Reduce misting frequency, water from bottom instead
Plant seeds slightly less densely for better air flow
Low Light Conditions
Insufficient light leads to leggy, pale sunflower microgreens.
Invest in LED grow light – essential for consistent results
Use reflective materials around growing area to maximize light
Rotate trays daily if using window light
Universal Success Tips
- Maintain consistent moisture without waterlogging
- Monitor daily for early problem detection
- Keep growing area clean to prevent contamination
- Start with high-quality, untreated seeds
- Adjust timing based on your local conditions
- Keep detailed records to improve future grows
Nutritional Powerhouse: Why Sunflower Microgreens Are a Superfood
Sunflower microgreens pack an incredible nutritional punch that puts many mature vegetables to shame. Research shows these young shoots contain concentrated levels of vitamins, minerals, and bioactive compounds that support everything from immune function to cardiovascular health.
Cardiovascular Support
- Vitamin E: Up to 15% DV – powerful antioxidant
- Magnesium: 23% DV – heart rhythm regulation
- Potassium: 9% DV – blood pressure support
- Phytosterols: Help reduce bad cholesterol
Complete Protein
- All 8 Essential Amino Acids
- 7g protein per ounce – excellent for vegetarians
- Highly bioavailable – easy absorption
- Muscle building support
Brain & Nerve Health
- B-Complex Vitamins: Nerve function
- Folate: 8% DV – brain development
- Phosphorus: 18% DV – cognitive function
- Selenium: 34% DV – antioxidant enzyme production
Bone & Tissue Health
- Calcium: 13% DV – bone strength
- Iron: Over 200% DV – oxygen transport
- Zinc: 9% DV – wound healing
- Manganese: 22% DV – bone development
Immune System
- Vitamin A: 10-25% DV – immune function
- Vitamin C: Antioxidant protection
- Copper: 69% DV – immune cell production
- Chlorophyll: Detoxification support
Vision & Skin Health
- Vitamin K: 50% DV – blood clotting
- Beta Carotene: Vision support
- Healthy Fats: Skin hydration
- Antioxidants: Anti-aging compounds
Research-Backed Benefits
Absorption Advantage
Studies show sunflower microgreens provide better bioavailability of magnesium and zinc compared to eating raw sunflower seeds, making nutrients more accessible to your body.
Medicinal Uses
In European and Asian traditional medicine, sunflower microgreens are used to support respiratory health, cardiovascular function, and immune system strength.
Daily Serving Recommendation: Just 1-2 ounces (about 1/4 cup) of sunflower microgreens provides significant nutritional benefits without overwhelming your daily calorie intake.
Delicious Ways to Enjoy Your Sunflower Microgreens
Simple Sunflower Microgreens Salad

Ingredients:
- 3 cups fresh sunflower microgreens
- 1/4 cup lemon vinaigrette
- 1 tablespoon sunflower seeds
- 1/2 cup cherry tomatoes, halved
- 1/4 cup crumbled feta cheese
Instructions: Gently rinse and spin dry sunflower microgreens. Toss with vinaigrette, top with tomatoes, seeds, and cheese. Serve immediately for best texture and flavor.
Sunflower Sprout Power Bowl

Ingredients:
- 2 cups sunflower microgreens
- 1/2 cup cooked quinoa
- 1/4 avocado, sliced
- 2 tablespoons hemp seeds
- Tahini dressing to taste
Instructions: Layer quinoa in bowl, top with microgreens, avocado, and hemp seeds. Drizzle with tahini dressing for a complete protein-packed meal.
Quick Snack Ideas
- Add to scrambled eggs
- Top avocado toast
- Mix into cream cheese
- Sprinkle on soup
- Wrap in tortillas
Smoothie Additions
- Green smoothie booster
- Protein shake enhancement
- Juice shots with wheatgrass
- Breakfast smoothie bowls
- Post-workout blends
Cooking Applications
- Sandwich and wrap filling
- Pizza topping after baking
- Stir-fry final garnish
- Grain bowl component
- Salad base substitute
Storage & Freshness Tips
Optimal Storage:
- Store in airtight container in refrigerator
- Use within 5-7 days for best quality
- Don’t wash until ready to use
- Keep dry to prevent wilting
Serving Guidelines:
- 1-2 ounces per person for salads
- Add just before serving hot dishes
- Gentle rinse and pat dry before use
- Pairs well with citrus flavors
Frequently Asked Questions About Sunflower Microgreens
How long does it take to grow sunflower microgreens from start to harvest?
Sunflower microgreens typically take 10-14 days from planting to harvest. This includes a 24-hour soaking period, 3-4 days of germination in darkness, and 6-10 days of growth under lights. The exact timing depends on temperature, light intensity, and growing conditions.
Can I grow sunflower microgreens without soil?
Yes! Sunflower microgreens grow excellently without soil using hydroponic methods. You can use coconut coir, hemp growing mats, or even just water with proper drainage. Soilless growing often produces cleaner harvests and reduces the risk of soil-borne pathogens.
What’s the difference between sunflower microgreens and sunflower sprouts?
Sunflower microgreens are grown in light with a growing medium and harvested when cotyledons (first leaves) develop, taking 10-14 days. Sprouts are grown in darkness with just water, harvested much earlier (3-5 days) when only roots and shoots have emerged. Microgreens have more developed nutrition and flavor.
Why are my sunflower microgreens growing leggy and pale?
Leggy, pale growth indicates insufficient light. Move your microgreens closer to the light source (6-12 inches away), increase daily light exposure to 14-16 hours, or invest in a stronger grow light. Proper lighting produces short, stocky, vibrant green microgreens.
How do I prevent mold when growing sunflower microgreens?
Prevent mold by ensuring good air circulation, avoiding overwatering, using clean equipment, and maintaining proper spacing between seeds. If you see white fuzzy growth (mold), increase ventilation and reduce moisture. White root hairs are normal and often mistaken for mold.
Can I regrow sunflower microgreens after harvesting?
No, sunflower microgreens cannot regrow after cutting. Unlike some microgreens, sunflowers are “cut and come again” plants. After harvest, compost the roots and growing medium, then start a fresh tray with new seeds for your next crop.
What type of sunflower seeds should I use for microgreens?
Use black oil sunflower seeds specifically sold for microgreen production. Avoid bird food seeds (often treated with chemicals) and striped sunflower seeds (harder shells, lower germination). Organic, untreated seeds provide the best germination rates and safest consumption.
How should I store harvested sunflower microgreens?
Store harvested sunflower microgreens in an airtight container in the refrigerator for 5-7 days. Don’t wash them until ready to use, as excess moisture accelerates spoilage. For best quality, harvest only what you need and leave the rest growing until consumption.
Are sunflower microgreens safe to eat raw?
Yes, sunflower microgreens are completely safe to eat raw when grown in clean conditions. They’re actually more nutritious when consumed raw, as cooking can reduce vitamin content. Always use clean water, sterile growing medium, and maintain proper hygiene during growing and harvesting.
Growing Sunflower Microgreens Without Soil: Hydroponic Method
Growing sunflower microgreens hydroponically eliminates soil-borne diseases, reduces mess, and often produces cleaner, more consistent results. This method is perfect for indoor growing and produces restaurant-quality microgreens.
Hydroponic Growing Media Options
| Hemp Growing Mats Reusable, excellent drainage | Best |
| Coconut Coir Mats Sustainable, good water retention | Great |
| Perlite/Vermiculite Mix Lightweight, sterile medium | Good |
Step-by-Step Hydroponic Method
Setup Process:
- Place growing mat in perforated tray
- Set perforated tray inside solid water tray
- Soak seeds for 24 hours as usual
- Spread seeds evenly on moist growing mat
- Cover for 3-4 days during germination
- Remove cover and add grow lights
- Maintain water level in bottom tray
Advantages of Soilless Growing:
- Cleaner harvest – no soil particles
- Reduced disease risk
- Easier cleanup and storage
- More consistent results
- Better root development visibility
- Environmentally sustainable
- Suitable for commercial production
Hydroponic Growing Tips
Water Management:
- Maintain 1/4 inch water depth
- Change water every 2-3 days
- Use filtered or distilled water
- Monitor for algae growth
Spacing & Density:
- Seeds can be planted denser
- Ensure even distribution
- Avoid seed overlapping
- Allow for air circulation
Troubleshooting:
- Add hydrogen peroxide for algae
- Increase air circulation if needed
- Monitor pH (6.0-7.0 ideal)
- Watch for root rot signs
Start Your Sunflower Microgreens Journey Today
Growing sunflower microgreens transforms your kitchen into a year-round source of fresh, nutrient-dense food. With just 10-14 days from seed to harvest, you’ll soon have a continuous supply of these protein-packed, vitamin-rich shoots that enhance everything from salads to smoothies.
The journey from soaking those first black oil sunflower seeds to harvesting your vibrant green microgreens is incredibly rewarding. Each tray you grow brings fresh nutrition to your table while teaching you valuable skills about food production and self-sufficiency.
Next Steps:
- Source high-quality black oil sunflower seeds
- Set up your growing area with proper lighting
- Start with one tray to learn the process
- Keep detailed records of your growing conditions
- Experiment with harvest timing for your taste preference
Expand Your Garden:
- Try growing other microgreens like peas or radish
- Experiment with different growing mediums
- Consider succession planting for continuous harvest
- Share your harvest with friends and family
- Document your growing journey with photos
Ready to grow your first batch of sunflower microgreens? Your homegrown superfood adventure starts with soaking those first seeds tonight!


