Microgreens mold is one of the most frustrating challenges that both beginner and experienced urban gardeners face when growing these nutrient-packed superfoods. Whether you’re cultivating broccoli sprouts mold concerns or dealing with mysterious white fuzz on your growing trays, understanding how to prevent and identify mold can make the difference between a successful harvest and a disappointing crop failure.
What You’ll Learn in This Guide:
- How to distinguish between harmless root hairs and dangerous mold
- Proven prevention strategies that work in any growing environment
- Step-by-step troubleshooting for common mold problems
- Expert techniques for creating optimal growing conditions
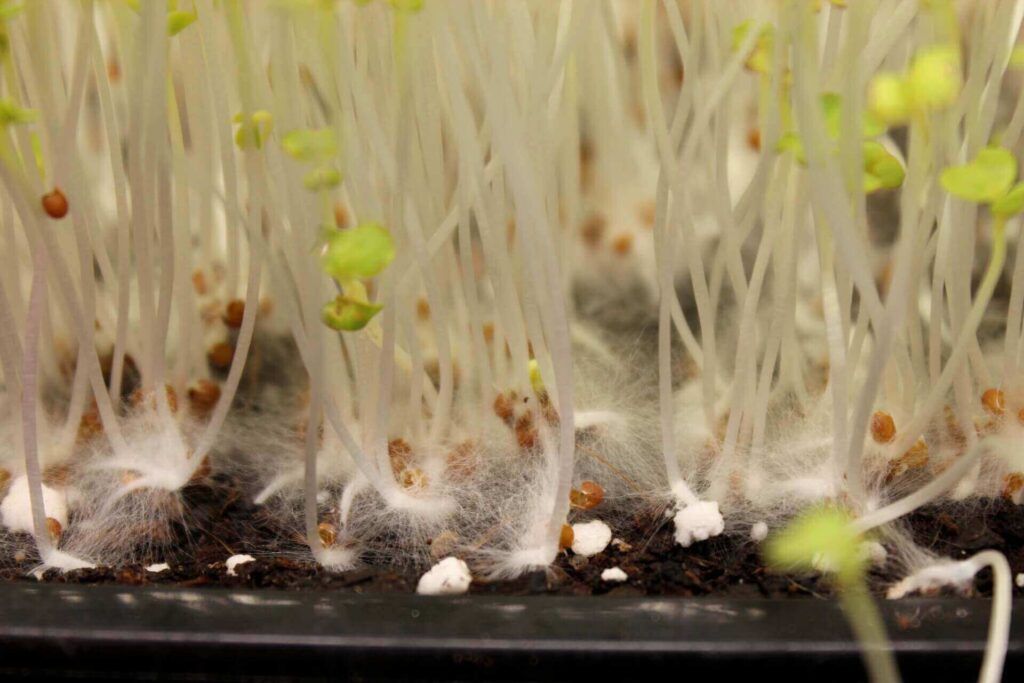
In this comprehensive guide, we’ll explore everything you need to know about mold on microgreens, from identifying the difference between root hairs vs mold to implementing professional-grade prevention strategies that ensure consistently healthy harvests in your urban growing space.
Microgreens Mold: A Visual Timeline Story
Days 1-2: Germination Phase
Seeds begin to sprout in the dark germination period. Microgreens mold risk is highest during this stage due to high moisture and lack of airflow. Key prevention: proper drainage and temperature control (65-75°F).
Days 3-4: Root Development
Root systems establish and white root hairs appear. This is when growers often mistake root hairs vs mold. Watch for feathery, organized growth patterns that indicate healthy root development rather than fuzzy, chaotic mold growth.
Days 5-7: Growth Acceleration
Rapid leaf development begins. Transition to bottom watering and introduce gentle air circulation. Mold on microgreens at this stage often appears as cotton-like growth on stems or soil surface.
Days 8-10: Pre-Harvest
Final growth push before harvest. Reduce watering frequency and ensure maximum air circulation. Any mold in sprouts detected at this stage requires immediate tray disposal to prevent contamination.
Root Hairs vs Mold: The Definitive Identification Guide
Critical: The Water Test
When in doubt, use the water test: spray suspected growth with water. Root hairs disappear when wet, while microgreens mold remains visible and may clump together.
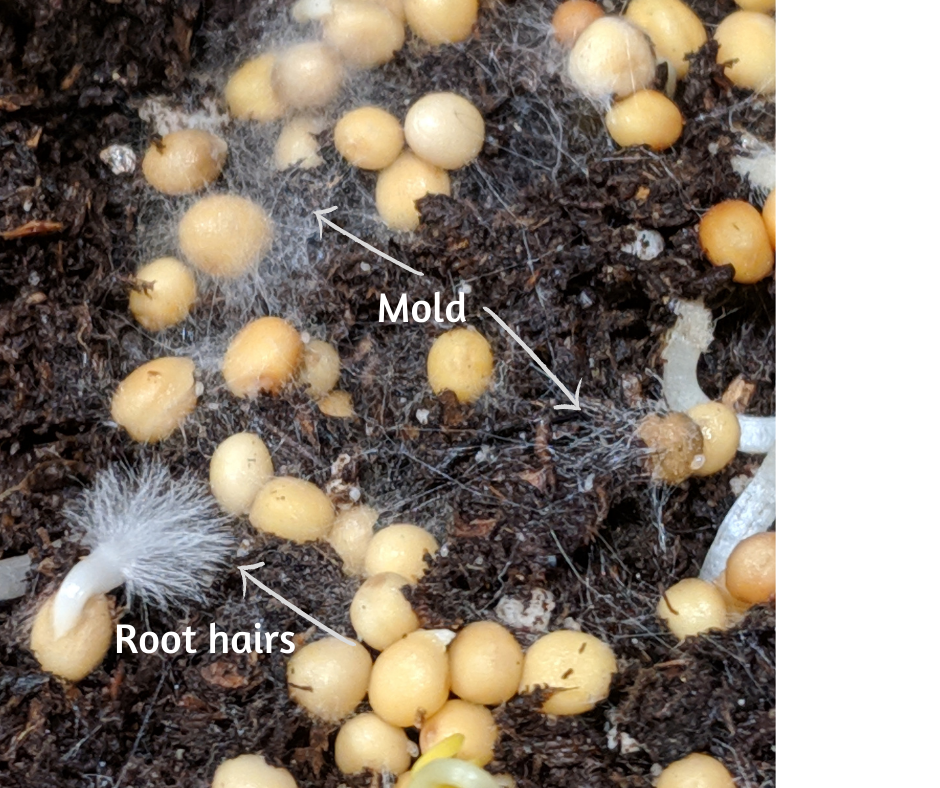
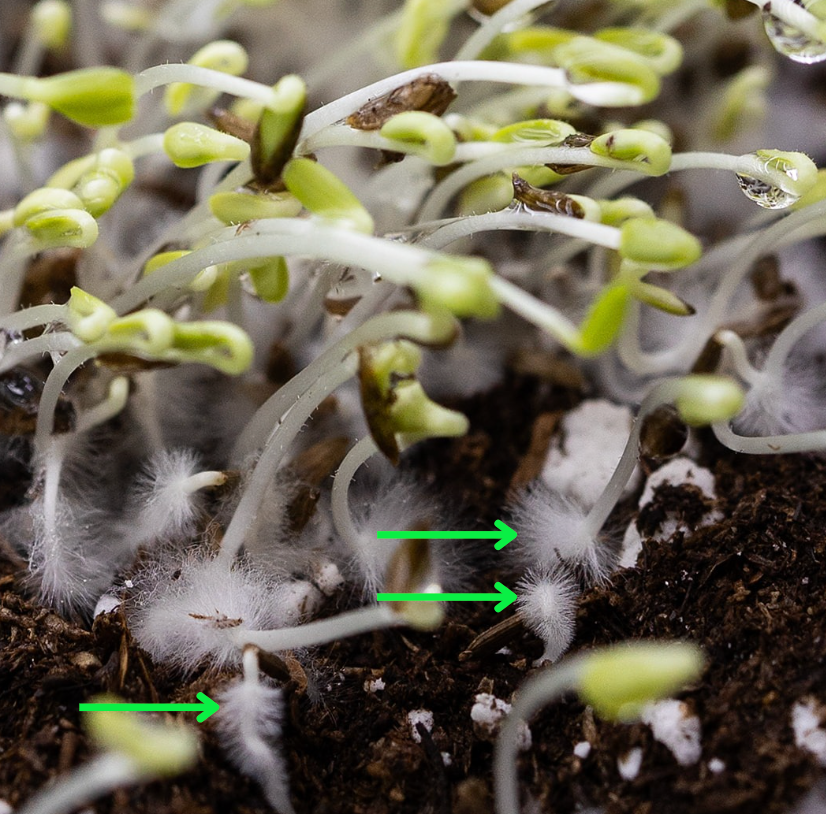
Healthy Root Hairs
- Location: Only on roots, never on stems or leaves
- Appearance: Fine, feathery, organized growth
- Color: Pure white or translucent
- Water test: Disappears completely when wet
- Smell: Earthy, fresh plant smell
- Growth pattern: Radiates outward from root system
Dangerous Mold Signs
- Location: On stems, leaves, or soil surface
- Appearance: Cotton-like, web-like, or fuzzy clusters
- Color: White with gray, blue, or black tinges
- Water test: Remains visible, may clump together
- Smell: Musty, sour, or rotten odor
- Growth pattern: Spreads randomly, covers multiple plants
Special Note on Broccoli Sprouts Mold
Broccoli sprouts mold can be particularly tricky to identify because broccoli naturally produces very prominent root hairs. Always perform the water test and check for the characteristic musty smell that indicates actual mold rather than healthy root development.
How to Prevent Mold in Microgreens: Professional Techniques
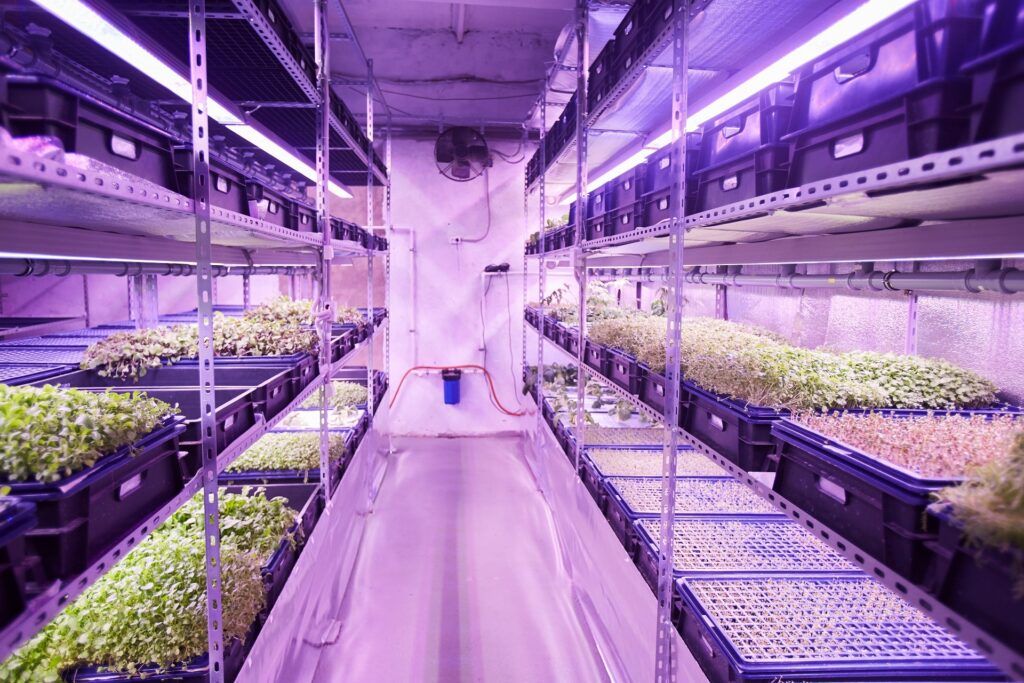
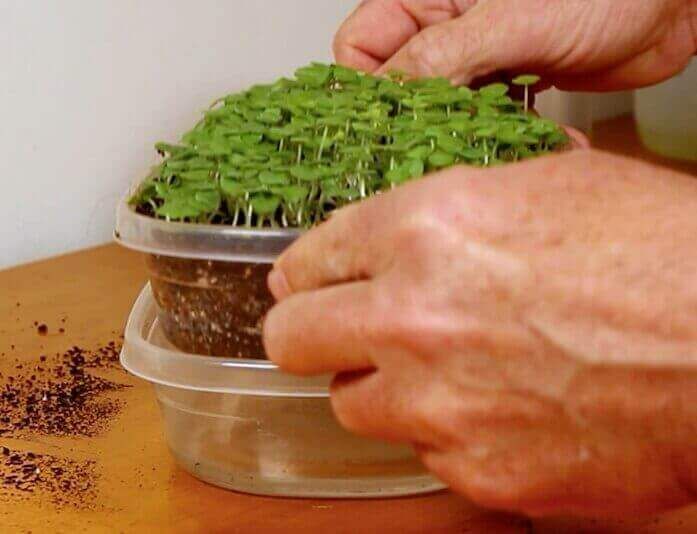
Essential Prevention Steps
1. Master Drainage and Watering
Proper water management is the foundation of microgreens mold prevention. Poor drainage creates the perfect breeding ground for fungal growth.
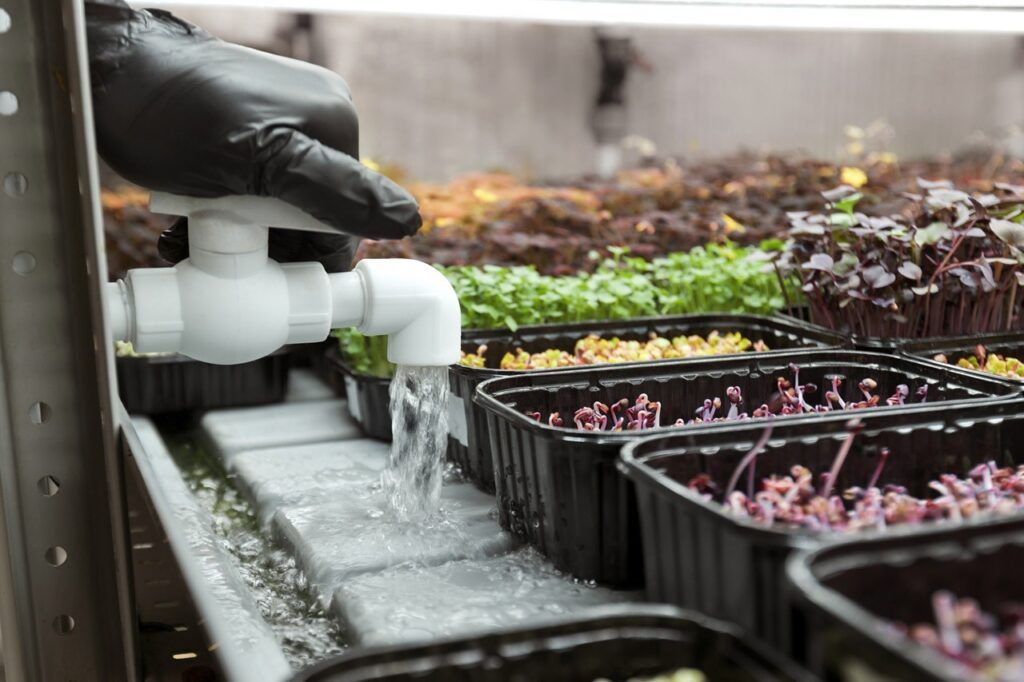
- Use perforated trays: Always grow in trays with drainage holes
- Bottom watering only: Add 1/2 inch of water to flood tray, let absorb for 2 hours, then drain completely
- Never let trays sit in standing water: Remove excess water immediately after absorption
- Monitor soil moisture: Soil should be moist but never waterlogged
2. Optimize Air Circulation
Stagnant air is mold’s best friend. Creating proper airflow disrupts spore development and reduces humidity around your plants.
- Install circulation fans: Use small fans positioned for gentle, indirect airflow
- Maintain air exchange: Ensure fresh air can enter your growing space
- Avoid direct fan placement: Never blow fans directly on seedlings
- Create air movement during blackout: Even covered trays benefit from ambient air circulation
3. Control Environmental Conditions
Creating the optimal environment prevents mold on microgreens while promoting healthy growth.
Ideal Conditions:
- Temperature: 65-75°F (18-24°C)
- Humidity: 40-60% relative humidity
- Light: 6-10 hours daily after germination
- Air movement: Gentle, consistent circulation
Mold-Promoting Conditions:
- Temperature: Above 80°F (27°C)
- Humidity: Above 70% relative humidity
- Light: Dark, poorly lit conditions
- Air movement: Stagnant, still air
4. Sanitization and Seed Treatment
Prevention starts before planting. Proper sanitization eliminates existing spores and prevents contamination.
- Clean all equipment: Wash trays with soap, rinse with diluted hydrogen peroxide (3% solution)
- Treat seeds: Soak “dirty” seeds (sunflower, cilantro, peas) in hydrogen peroxide solution for 10-15 minutes
- Use fresh growing medium: Avoid reusing soil or mats from previous grows
- Maintain workspace cleanliness: Keep growing area free from debris and standing water
Troubleshooting: How to Get Rid of Mold on Microgreens
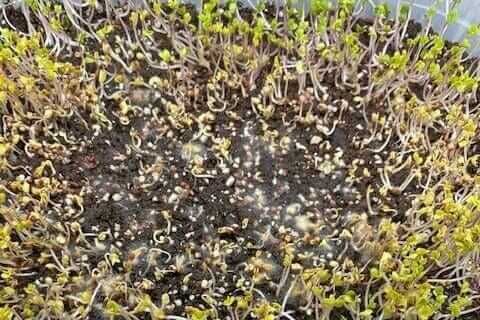
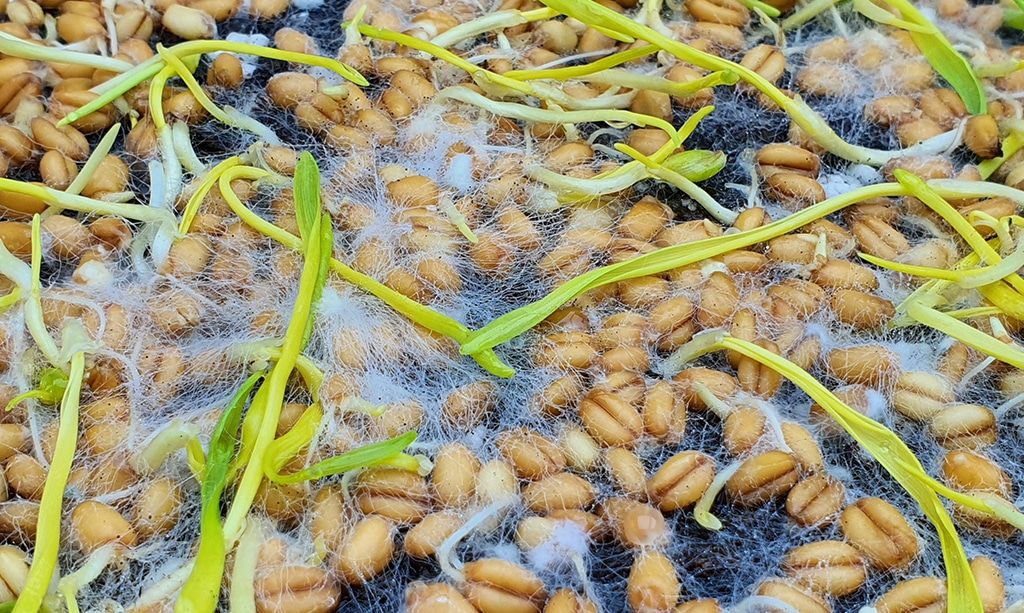
When Mold Appears: Immediate Action Required
Once microgreens mold is visible, you have limited options. Most experts recommend discarding the affected tray, but here are emergency measures for minor contamination:
Immediate Steps:
- Isolate affected tray immediately
- Assess contamination extent
- Check environmental conditions
- Review recent watering practices
Emergency Treatment:
- Spray 3% hydrogen peroxide solution
- Increase air circulation immediately
- Reduce watering frequency
- Monitor for 24-48 hours
Common Problem Scenarios
Problem: White Fuzz During Germination (Days 1-3)
Likely Cause: Could be root hairs or early mold development
Solution: Perform water test, increase air circulation, check drainage
Prevention: Ensure proper blackout period ventilation and avoid overwatering during germination.
Problem: Cotton-like Growth on Stems (Days 5-7)
Likely Cause: Confirmed mold infection, often from poor air circulation
Solution: Discard tray, sanitize equipment, review environmental controls
Prevention: Implement better fan positioning and reduce seeding density for improved airflow.
Problem: Damping-Off Disease (Collapsed Seedlings)
Likely Cause: Soil-borne pathogens attacking seedling stems at soil level
Solution: Complete tray disposal, full workspace sanitization, review seed quality
Prevention: Use sterile growing medium, improve drainage, maintain lower humidity levels.
Adapting to Your Climate: Regional Mold Prevention Strategies
Different climates present unique challenges for microgreens mold prevention. Understanding your local conditions helps you adapt growing techniques for consistent success.
Hot & Humid Climates
Challenges:
High humidity, temperature fluctuations, rapid spore development
Solutions:
- Use dehumidifiers in growing space
- Increase fan circulation
- Water early morning only
- Consider air conditioning
Cold & Dry Climates
Challenges:
Low humidity, heating system impacts, slower growth rates
Solutions:
- Monitor heating effects on humidity
- Avoid over-humidifying
- Maintain consistent temperatures
- Protect from cold drafts
Cold & Dry Climates
Challenges:
High ambient moisture, poor natural ventilation, extended humid periods
Solutions:
- Use moisture absorbers
- Increase artificial ventilation
- Reduce watering frequency
- Consider indoor growing exclusively
Universal Climate Tips
Regardless of your climate, these strategies help prevent mold in sprouts and ensure healthy harvests: monitor your environment with a thermometer/hygrometer, adjust ventilation based on seasonal changes, maintain consistent growing routines, and keep detailed records of successful conditions for your specific location.
Professional Equipment for Mold-Free Growing
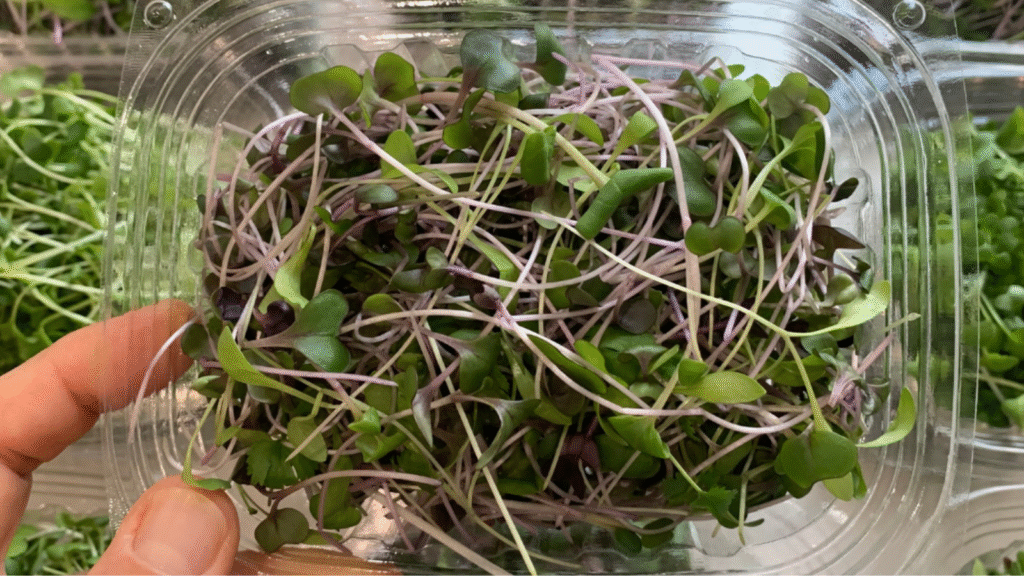
Essential Equipment Checklist
Growing Containers
- Perforated growing trays: Essential for drainage
- Solid flood trays: For bottom watering system
- Blackout domes: For germination period
- Clear storage lids: For humidity control
Monitoring Equipment
- Digital hygrometer: For humidity monitoring
- Thermometer: For temperature tracking
- Environmental controller: For automated climate control
- Data logger: For tracking conditions over time
Ventilation Equipment
- Oscillating fans: For gentle air circulation
- Exhaust fans: For air exchange in enclosed spaces
- Intake vents: For fresh air supply
- Fan controllers: For precise airflow management
Sanitization Tools
- Hydrogen peroxide (3%): For equipment sterilization
- Spray bottles: For applying sanitizing solutions
- Cleaning brushes: For thorough tray cleaning
- Disposable gloves: For contamination prevention
Investment vs. Returns
While professional equipment requires initial investment, preventing microgreens mold saves significantly more money than replacing contaminated trays. A single mold outbreak can destroy weeks of crops, making prevention equipment cost-effective for serious growers.
Frequently Asked Questions About Microgreens Mold
Can you eat microgreens with mold?
Absolutely not. Eating moldy microgreens poses the same health risks as consuming any moldy food. Microgreens mold can produce mycotoxins that may cause allergic reactions, respiratory problems, or digestive issues.
Safety Rule: When in doubt, throw it out. Always discard the entire tray if mold is present, as spores can spread throughout even if only visible in one area.
How can I tell if it’s root hairs or mold on my microgreens?
This is the most common question about root hairs vs mold. The key is the water test:
- Root hairs: Disappear completely when sprayed with water
- Mold: Remains visible when wet, may clump together
- Root hairs: Only appear on roots, have organized, feathery appearance
- Mold: Can grow on stems/leaves, appears cotton-like or web-like
What causes mold in microgreens?
Several factors contribute to mold on microgreens:
Primary Causes:
- Excess moisture/overwatering
- Poor air circulation
- High humidity (above 60%)
- Contaminated seeds or equipment
Contributing Factors:
- Temperature above 75°F
- Overcrowded seeding
- Poor drainage
- Lack of proper lighting
How do I prevent mold on microgreens?
Prevention is always better than treatment. Follow these essential steps:
- Ensure proper drainage: Use perforated trays and avoid standing water
- Maintain optimal humidity: Keep between 40-60% relative humidity
- Provide adequate air circulation: Use fans for gentle, consistent airflow
- Use bottom watering: Avoid getting leaves wet during watering
- Sterilize equipment: Clean trays with hydrogen peroxide between grows
- Control seeding density: Avoid overcrowding for better air circulation
Can hydrogen peroxide kill mold on microgreens?
Yes, hydrogen peroxide can help kill microgreens mold, but prevention is still the best approach:
Treatment Method:
Mix 1 tablespoon of 3% hydrogen peroxide with 16 oz water. Spray lightly on affected areas.
Important Warning:
Treatment is not always effective and may damage plants. When mold is visible, it’s often safer to discard the tray and focus on prevention for future grows.
Why do my broccoli sprouts keep getting mold?
Broccoli sprouts mold is particularly common because broccoli seeds are prone to carrying fungal spores and naturally produce very prominent root hairs that can be confused with mold.
Special prevention for broccoli:
- Soak seeds in diluted hydrogen peroxide before planting
- Ensure excellent drainage and air circulation
- Use the water test to distinguish root hairs from actual mold
- Consider purchasing certified organic or sterilized seeds
What’s the difference between damping-off and regular mold?
Damping-off is a specific type of fungal disease that attacks seedlings at the soil line, causing them to collapse and die:
Regular Mold:
- Grows on surface of plants/soil
- Cotton-like or web-like appearance
- Plants may survive if caught early
Damping-Off:
- Attacks stem at soil level
- Causes seedlings to fall over
- Usually fatal, entire tray loss
The Rewarding Journey of Mold-Free Microgreens
Mastering microgreens mold prevention transforms your urban gardening experience from frustrating to incredibly rewarding. There’s something deeply satisfying about harvesting perfect, healthy microgreens that you’ve nurtured from seed to table.
Microgreens are a fun way to add fresh greens to your meals while connecting with the growing process in your own space. This simple gardening habit can improve your daily routine, providing both nutritious food and the therapeutic benefits of nurturing plants.
Urban spaces can become greener with minimal effort once you understand proper growing techniques. The knowledge of how to prevent mold on microgreens opens doors to year-round fresh produce, regardless of your living situation or climate.
Key Takeaways for Success:
- Prevention is always easier than treatment
- Understanding your environment is crucial
- Proper equipment makes a significant difference
- Consistency in technique yields consistent results
Your Path Forward
With this comprehensive understanding of microgreens mold prevention, you’re equipped to create a thriving urban garden. Remember that every expert grower has faced mold challenges – the difference is learning from these experiences and implementing proven prevention strategies. Start with proper drainage, maintain good airflow, and always prioritize prevention over treatment.
Next Steps: Building Your Mold-Free Growing System
Week 1: Assessment
Evaluate your current setup, identify problem areas, and create your prevention checklist based on this guide.
Week 2: Equipment
Invest in proper drainage trays, ventilation fans, and monitoring equipment for long-term success.
Week 3+: Implementation
Start growing with your new knowledge, keep detailed records, and refine your techniques based on results.
Remember: Knowledge Without Action
Understanding how to prevent mold in microgreens is only valuable when applied consistently. Start implementing these techniques gradually, focus on the fundamentals first, and don’t try to perfect everything at once. Success comes from steady improvement, not perfection from day one.
Happy growing, and may your microgreens always be mold-free and delicious!


