Growing microgreens seed varieties in your urban garden is one of the most rewarding ways to access fresh, nutrient-dense greens year-round. These tiny powerhouses pack up to 40 times more nutrients than their mature counterparts, making them perfect for health-conscious urban dwellers with limited space.
From understanding how to germinate microgreen seeds to solving common seed density problems, this guide covers everything you need to know about microgreens seeds cultivation. You’ll learn which seeds work best, where to source quality microgreen seeds in bulk, and master the art of growing everything from traditional varieties to exotic hemp seed microgreens.
Quick Start Tip: Most microgreens can be harvest-ready in just 7-14 days, making them perfect for urban gardeners who want quick results!
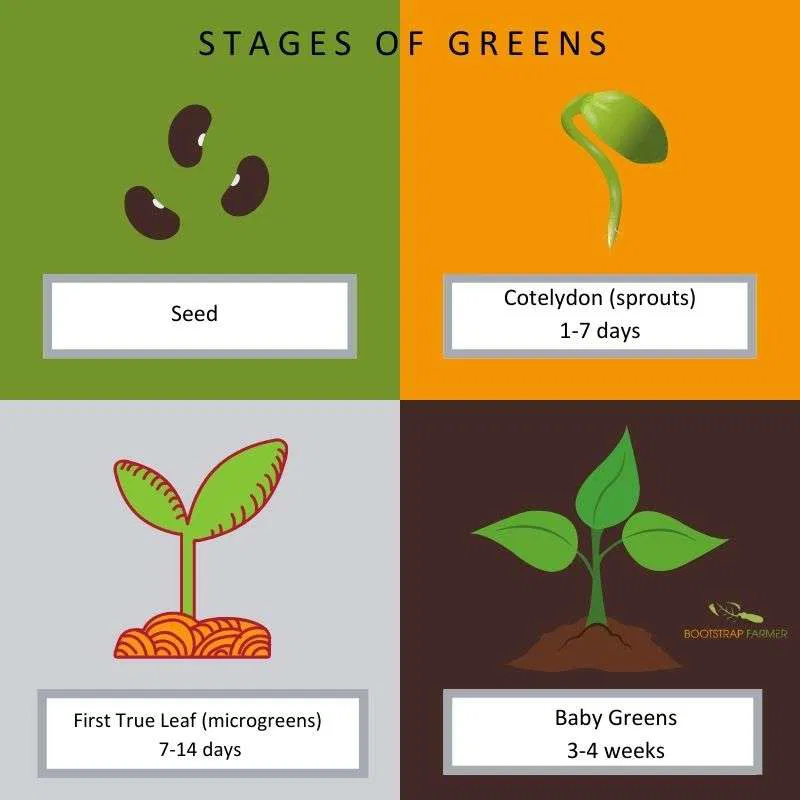
Visual Journey: Microgreens Seed to Harvest Timeline
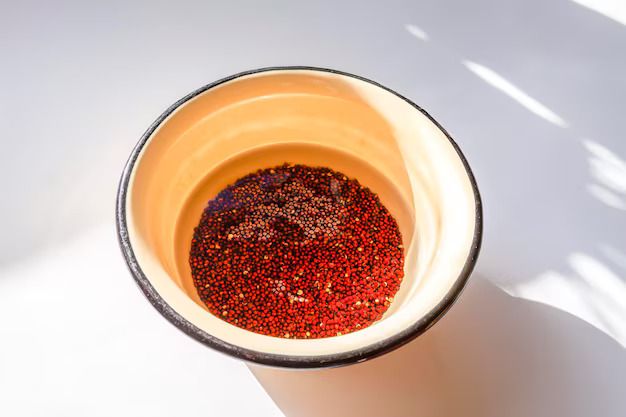
Day 1: Seed Preparation
Soak larger microgreen seeds like sunflower for 8-12 hours. This crucial step improves germination rates and ensures even sprouting across your growing tray.
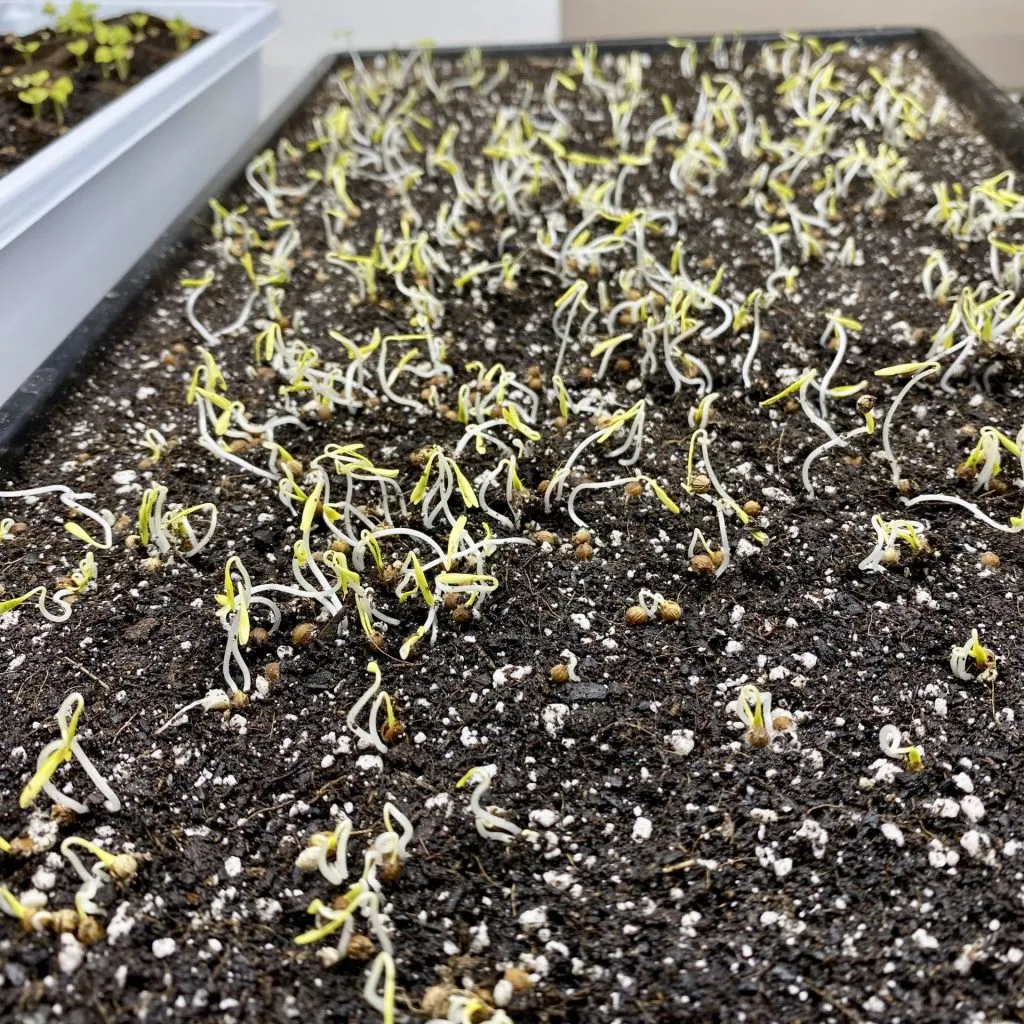
Day 3: Early Germination
First signs of life! Microgreens seed varieties begin sprouting. Keep trays in blackout conditions to encourage strong stem development and prevent early leaf formation.
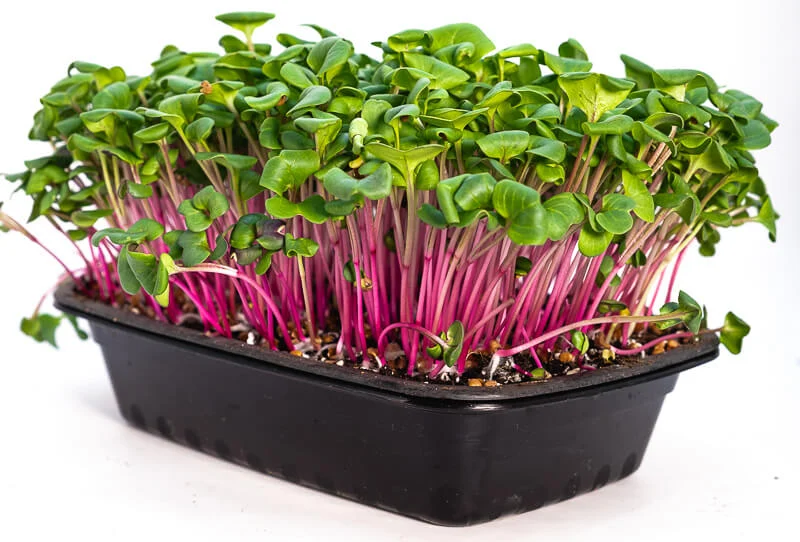
Day 5: Rapid Growth
Stems reach 1-2 inches tall. Time to introduce light! Your microgreens seeds are now developing their first true leaves and establishing strong root systems.
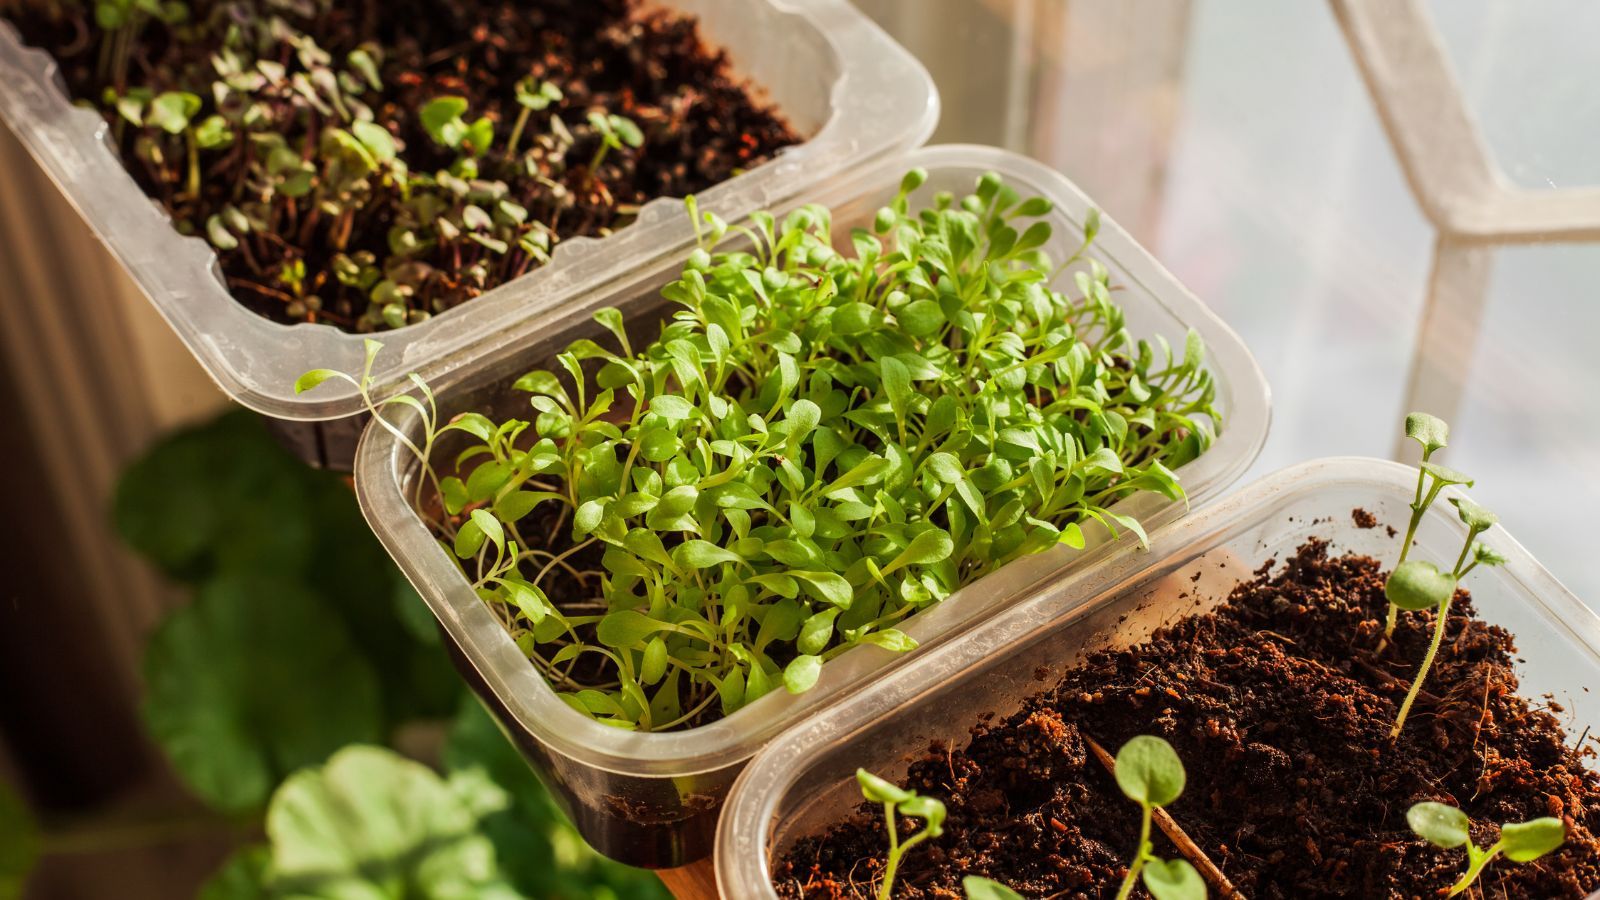
Day 7: Light Development
Cotyledon leaves fully developed and turning green. Your microgreen seeds are photosynthesizing and building the nutrients that make microgreens so valuable.
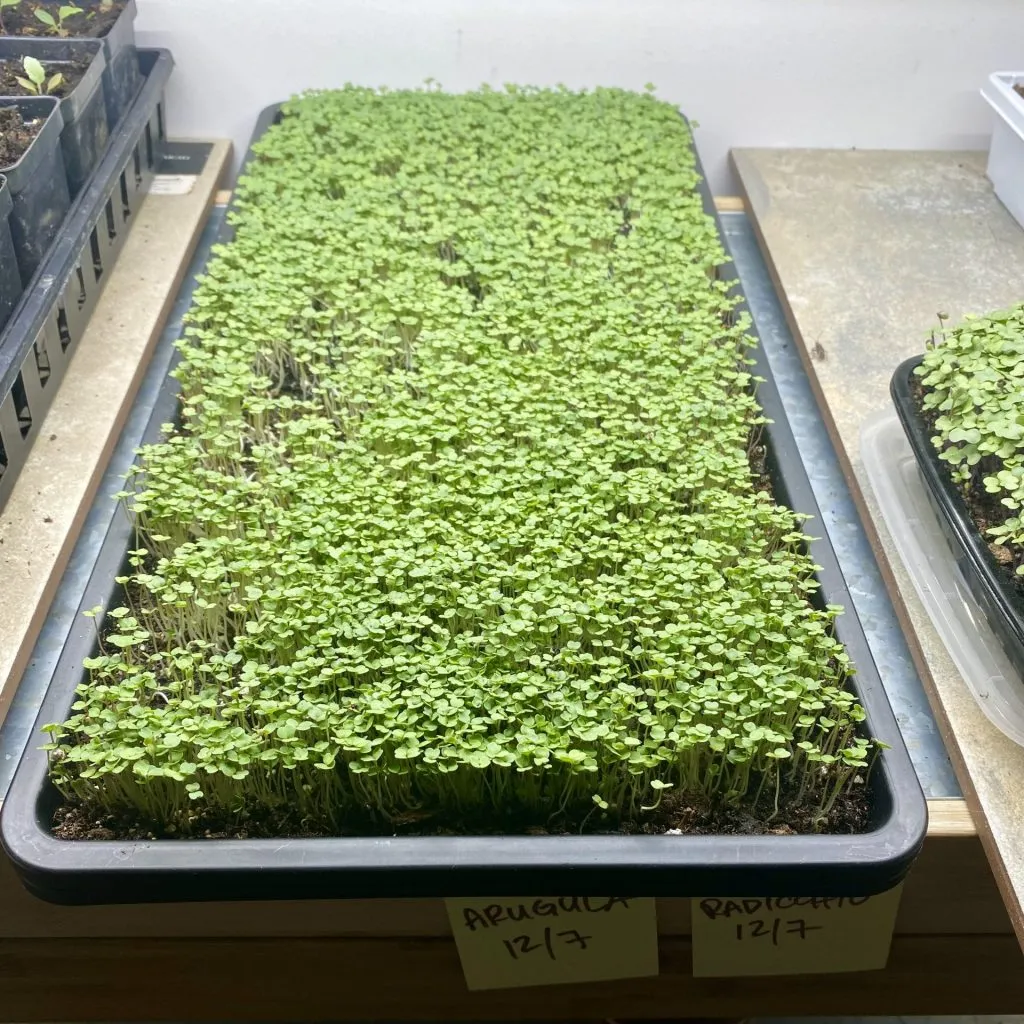
Day 10: Pre-Harvest
First true leaves beginning to emerge. Most microgreens seed varieties are now at peak nutritional content and ready for harvesting within 2-4 days.

Day 14: Harvest Time
Perfect harvest window! Cut above the soil line with clean scissors. Your microgreens seeds have produced nutrient-dense greens ready to enhance any meal.
Step-by-Step Microgreens Seed Growing Process
1. Selecting the Right Microgreens Seed Varieties
Not all seeds are created equal for microgreens cultivation. The key to success starts with choosing quality microgreens seeds that are specifically suited for rapid growth and high nutritional density.
Best Beginner-Friendly Microgreen Seeds:
- Radish – Fast growing, peppery flavor
- Broccoli – High in sulforaphane
- Pea shoots – Sweet, crunchy texture
- Sunflower – Nutty flavor, requires soaking
- Mustard – Spicy kick, grows quickly
Pro Tip: Start with radish and broccoli microgreen seeds – they’re forgiving and give quick results!
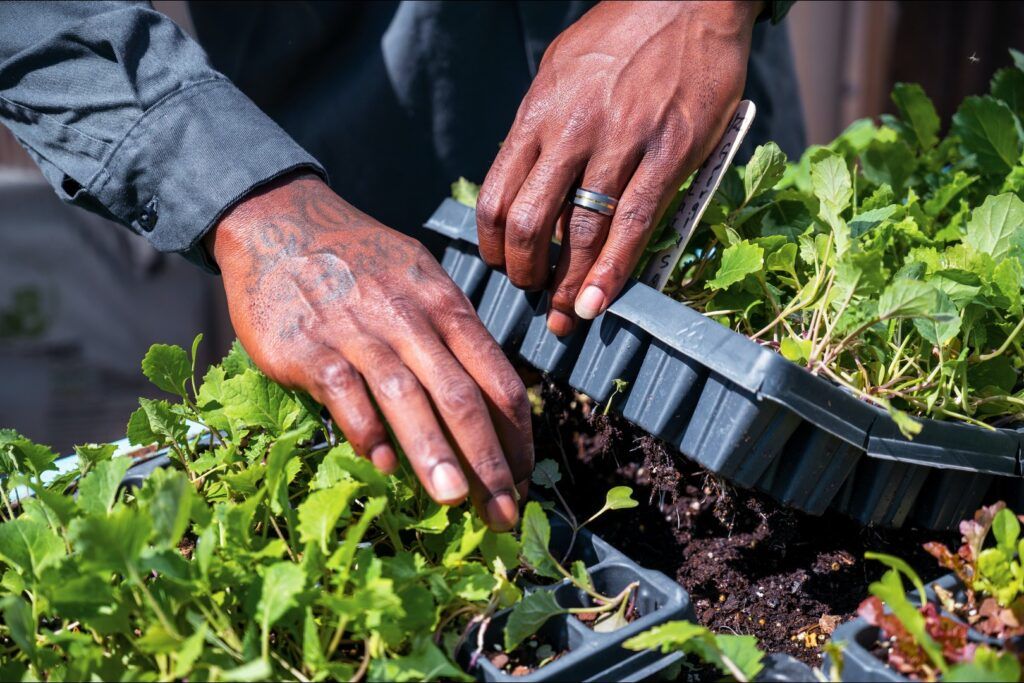
2. How to Germinate Microgreen Seeds: Soaking and Preparation
Learning how to germinate microgreen seeds properly is crucial for success. Larger seeds benefit from pre-soaking, while smaller seeds can be planted directly.
Soaking Guidelines by Seed Size:
Large Seeds (Sunflower, Pea)
8-12 hours soaking
Medium Seeds (Broccoli, Radish)
4-6 hours or direct sowing
Small Seeds (Lettuce, Arugula)
Direct sowing recommended
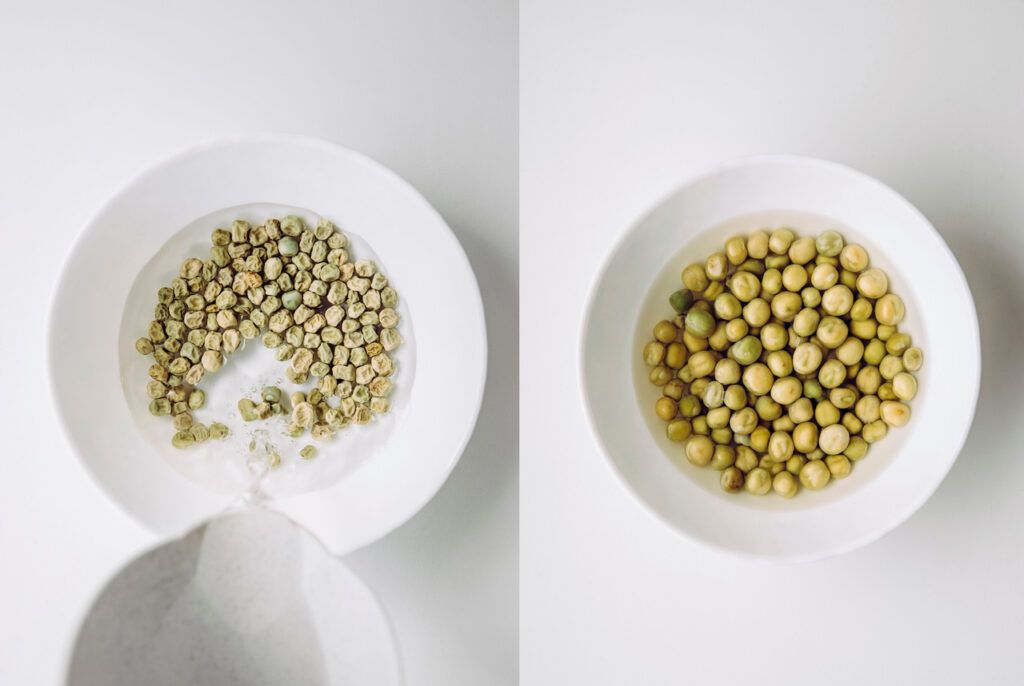
Important: Never soak seeds longer than 12 hours to prevent mold development!
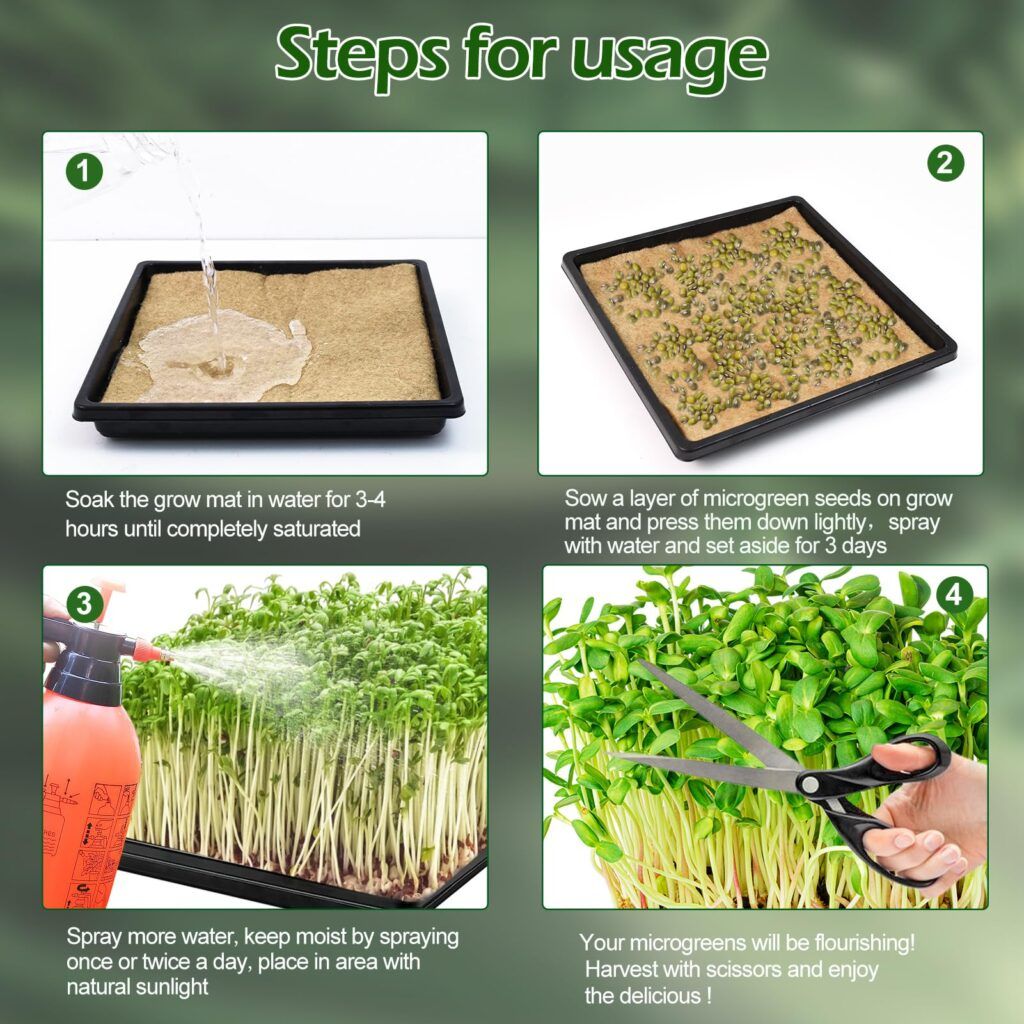
3. Preparing Growing Trays and Medium
Proper tray setup is essential for preventing seed density problems and ensuring healthy growth. The growing medium should provide adequate drainage while retaining moisture.
Essential Materials:
- 1020 growing trays with drainage holes
- Solid bottom trays for water collection
- Organic potting mix or coconut coir
- Spray bottle for gentle watering
- Blackout dome or cardboard for covering
Soil Depth: Use only ½ to ¾ inch of growing medium for most microgreens seeds
4. Seeding Techniques and Avoiding Seed Density Problems
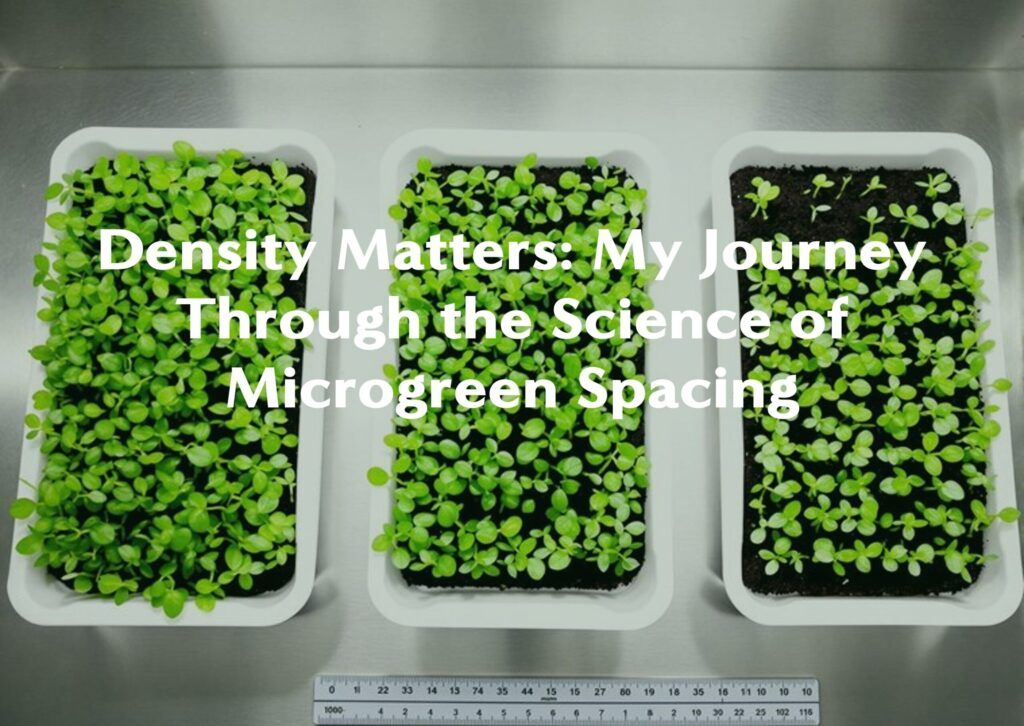
Seed density problems are one of the most common issues for new growers. Too many seeds create competition and poor air circulation, while too few waste space and reduce yields.
Optimal Seeding Density (per 10×20 tray):
Broccoli, Radish, Mustard1-2 oz
Sunflower, Pea3-4 oz
Lettuce, Arugula0.5-1 oz
Common Mistake: Overcrowding leads to weak, leggy growth and increased mold risk
5. Watering Schedule and Moisture Management
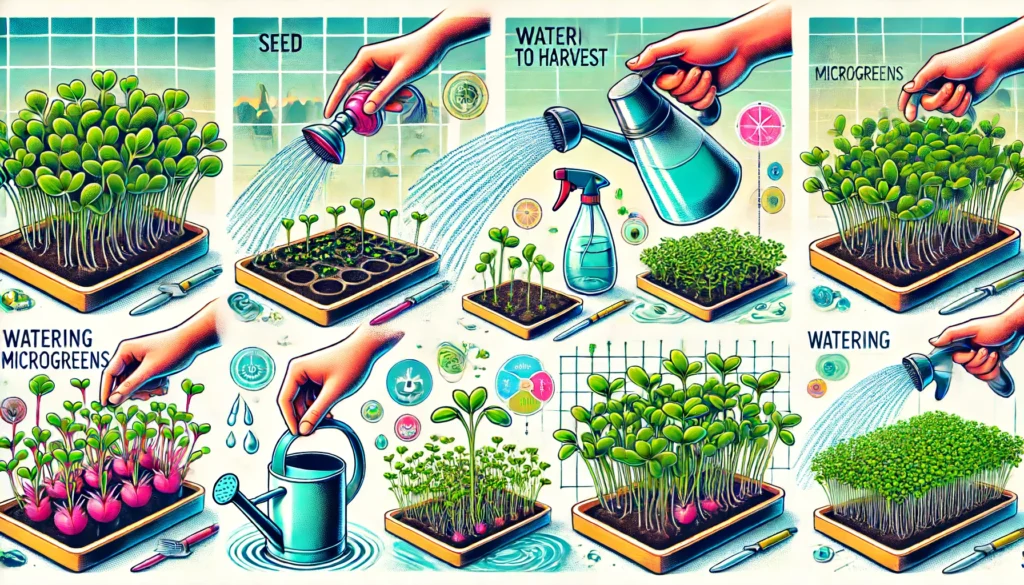
Proper watering is critical for microgreens seed success. Too much water causes mold, while too little prevents germination.
Daily Watering Schedule:
Days 1-3: Blackout Phase
Mist lightly once daily, keep soil moist but not soaked
Days 4-7: Light Introduction
Bottom watering preferred, check soil moisture daily
Days 8-14: Growth Phase
Water every other day or as needed, avoid overhead watering
6. Harvesting Your Microgreens
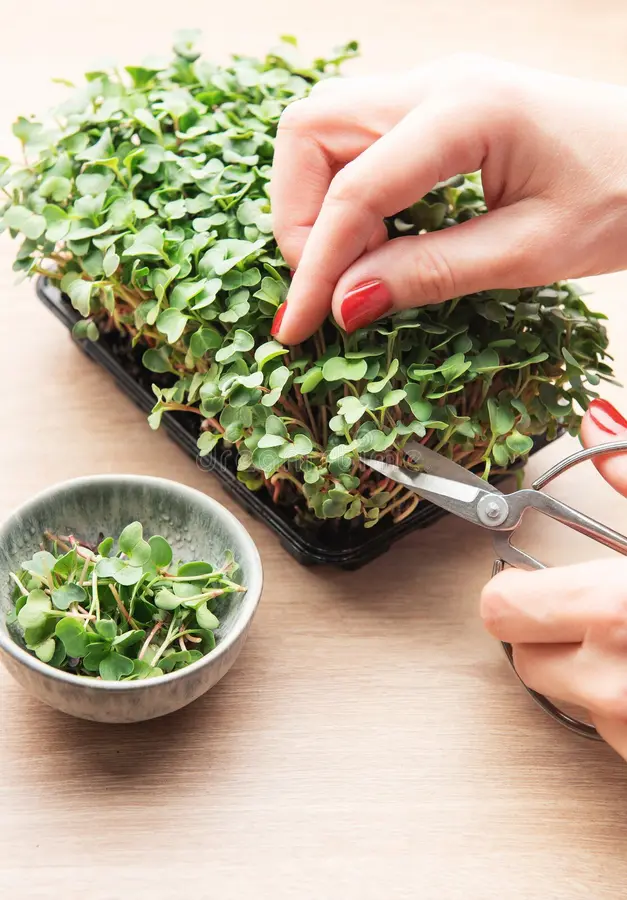
Timing is everything when harvesting microgreens. Most varieties are ready when the first true leaves appear, usually 7-14 days after seeding.
Harvesting Best Practices:
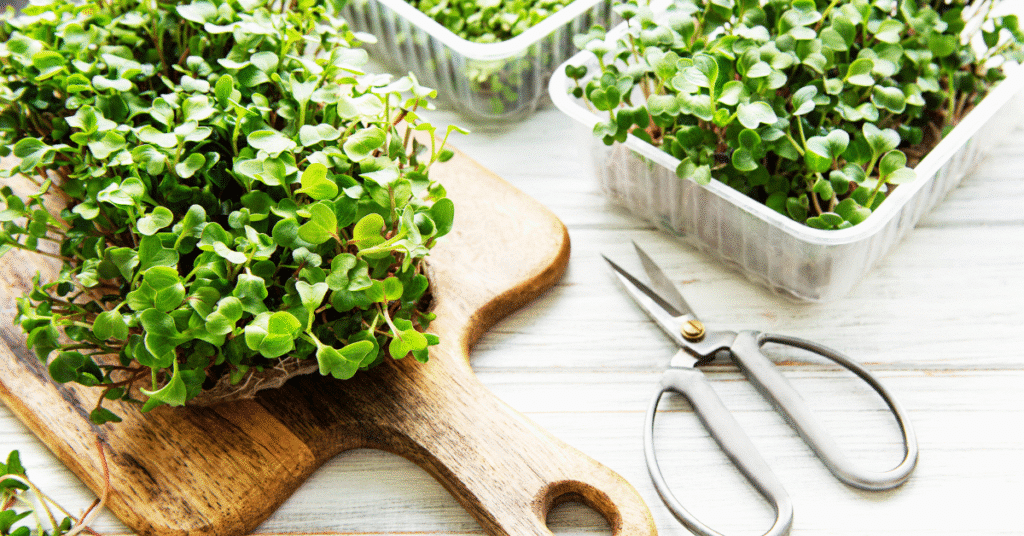
- Use clean, sharp scissors or knife
- Cut about ½ inch above soil level
- Harvest in the morning for best flavor
- Wash gently in cool water
- Store in refrigerator for up to 7 days
Harvest Tip: Cut and come again doesn’t work with microgreens – each tray is single harvest
Adapting to Different Climate Conditions
Hot Climate Challenges
High temperatures can stress microgreens seeds and accelerate growth, often leading to bitter flavors and poor texture.
Solutions for Hot Weather:
- Move trays to the coolest part of your home
- Use fans for air circulation
- Water more frequently but lightly
- Extend blackout period by 1-2 days
- Choose heat-tolerant varieties like mustard
Ideal Temperature: 65-75°F (18-24°C) for most microgreens seed varieties
Cold Climate Adaptations
Cold temperatures slow germination and growth, but can actually improve flavor concentration in many microgreens seeds.
Cold Weather Strategies:
- Use heating mats for consistent soil temperature
- Reduce watering frequency
- Extend growing time by 3-5 days
- Choose cold-hardy varieties like pea shoots
- Ensure adequate light with grow lights
Winter Advantage: Lower humidity reduces mold risk significantly
Humidity and Air Circulation Management
Proper humidity levels are crucial for preventing mold while maintaining adequate moisture for microgreens seed germination.
Optimal Conditions:
- Humidity: 40-60% for most varieties
- Air circulation: Gentle fan 4-6 hours daily
- Avoid stagnant air in growing areas
- Monitor with digital hygrometer
Quick Climate Check
| Too Hot (>80°F) | ❌ Reduce heat |
| Perfect (65-75°F) | ✅ Ideal range |
| Too Cold (<60°F) | ⚠️ Add warmth |
Exploring Specialty Microgreens Seeds
Hemp Seed Microgreens: A Superfood Option
Hemp seed microgreens are gaining popularity for their exceptional nutritional profile and nutty flavor. These seeds contain all essential amino acids and perfect omega fatty acid ratios.
High in complete protein
Contains all 9 essential amino acids
Perfect omega balance
3:1 to 4:1 omega-6 to omega-3 ratio
Legal and safe
THC content below 0.3%
Growing Tip: Hemp seeds require 8-12 days to harvest and prefer slightly cooler conditions
Where to Buy Microgreen Seeds in Bulk
Finding reliable sources for microgreen seeds in bulk quantities ensures consistent quality and better pricing for serious growers.
Recommended Seed Characteristics:
- Organic certification preferred
- High germination rates (>85%)
- Untreated seeds (no fungicides)
- Fresh harvest dates
- Proper storage conditions
| Small quantities (1-5 lbs) | Local garden centers |
| Medium quantities (5-25 lbs) | Online specialty retailers |
| Bulk quantities (25+ lbs) | Agricultural suppliers |
Troubleshooting Common Issues
Dealing with Mold Issues
Prevention
- Proper air circulation
- Avoid overwatering
- Use clean equipment
- Maintain proper seed density
Early Detection
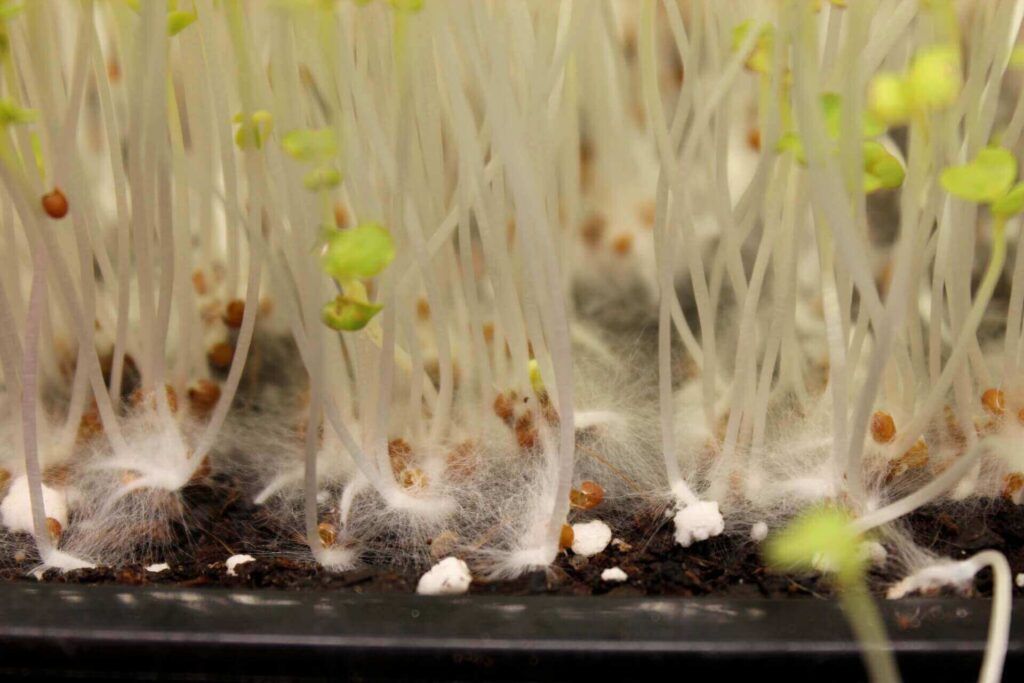
Fuzzy white growth: True mold, discard tray
White root hairs: Normal, continue growing
Treatment
- Increase air circulation
- Reduce watering frequency
- Remove affected areas
- Consider hydrogen peroxide spray
Poor Germination Issues
Common Causes:
- Old or improperly stored microgreens seeds
- Incorrect soil moisture levels
- Temperature fluctuations
- Poor seed-to-soil contact
- Inadequate darkness during germination
Solutions:
- Test seed viability with small samples
- Maintain consistent 65-75°F temperature
- Press seeds gently into growing medium
- Keep soil evenly moist but not waterlogged
- Ensure complete darkness for 2-4 days
Frequently Asked Questions About Microgreens Seeds
Can I use sprouting seeds to grow microgreens?
Yes, you can absolutely use sprouting seeds to grow microgreens! Botanically speaking, there’s no difference between sprouting seeds and microgreen seeds – the distinction is purely in the growing method and marketing.
Sprouting seeds are grown in water and harvested in 2-5 days, while microgreens are grown in soil/growing medium and harvested in 7-14 days. The same seed can be used for either purpose, making sprouting seeds an economical choice for microgreens seeds.
How long to soak sunflower seeds for microgreens?
Sunflower seeds should be soaked for 8-12 hours before planting as microgreens. This optimal soaking time improves germination rates and helps remove any natural growth inhibitors.
Avoid soaking longer than 12 hours as this can lead to mold development. After soaking, drain and rinse the seeds thoroughly before spreading them on your growing medium. Some growers prefer 4-6 hours for smaller sunflower seeds, but 8-12 hours is the sweet spot for most varieties.
Which seeds to use for microgreens if I’m a beginner?
The best microgreens seeds for beginners are radish, broccoli, and mustard. These varieties are forgiving, germinate quickly (5-7 days), and don’t require soaking.
Radish microgreens have a peppery flavor and grow rapidly, while broccoli offers excellent nutrition and mild taste. Mustard microgreens are virtually foolproof and add a spicy kick to dishes. Avoid sunflower and pea initially as they require more attention to prevent mold.
How do I solve seed density problems in my microgreens trays?
Seed density problems typically occur when seeds are planted too thickly or too sparsely. For a 10×20 tray, use 1-2 oz for small seeds (broccoli, radish), 3-4 oz for large seeds (sunflower, pea), and 0.5-1 oz for tiny seeds (lettuce).
Overcrowding leads to poor air circulation, increased mold risk, and weak growth. Undercrowding wastes space and reduces yields. The goal is even coverage where seeds barely touch each other when spread across the growing medium.
Where to buy microgreen seeds in bulk for commercial growing?
For bulk microgreen seeds, consider agricultural suppliers like Johnny’s Seeds, True Leaf Market, or High Mowing Seeds. These suppliers offer 5-25 lb quantities at wholesale prices.
Look for organic certification, high germination rates (>85%), and proper storage conditions. Many suppliers offer bulk discounts starting at 5 pounds. For very large quantities (50+ lbs), contact seed distributors directly or consider joining cooperative buying groups with other local growers.
Are hemp seed microgreens legal and safe to grow?
Yes, hemp seed microgreens are completely legal and safe to grow. The seeds used for microgreens come from industrial hemp varieties with THC levels below 0.3%, making them non-psychoactive and legal in all 50 states.
Hemp microgreens are highly nutritious, containing complete proteins, perfect omega fatty acid ratios, and essential vitamins. They take 8-12 days to harvest and have a mild, nutty flavor that works well in salads and smoothies.
How long do microgreens seeds stay viable for planting?
Most microgreens seeds remain viable for 2-3 years when stored properly in cool, dry conditions. However, germination rates decline over time, so fresher seeds always perform better.
Store seeds in airtight containers in a cool, dark place with low humidity. Refrigeration can extend viability for larger seeds like sunflower and pea. Test germination rates annually by sprouting a small sample – if less than 80% germinate, it’s time for fresh seeds.
Your Microgreens Journey: From Seed to Lifestyle
Transform Your Urban Space
Growing microgreens seeds in your urban garden is more than just a hobby – it’s a gateway to sustainable living and improved nutrition. These tiny greens pack incredible flavor and nutrition into every harvest, making them perfect for urban dwellers who want to maximize their growing space.
Microgreens are a fun way to add fresh greens to your meals while connecting with the growing process. This simple gardening habit can improve your daily routine by providing fresh, nutrient-dense food right from your countertop or windowsill.
Time Efficient
Just 10 minutes daily maintenance for fresh harvests every 2 weeks
Space Friendly
Urban spaces can become greener with minimal effort and maximum impact
Year-Round Growing
Indoor cultivation means fresh greens regardless of weather or season
Whether you’re growing traditional varieties or exploring exotic hemp seed microgreens, the journey from microgreens seed to harvest connects you with your food in a meaningful way. Start small, learn as you grow, and soon you’ll have a thriving microgreens operation that supplies your kitchen with the freshest, most nutritious greens possible.
“The best time to plant a tree was 20 years ago. The second best time is now. The same goes for your first tray of microgreens seeds.”


